Steps for Getting Started with Administration Module
Introduction
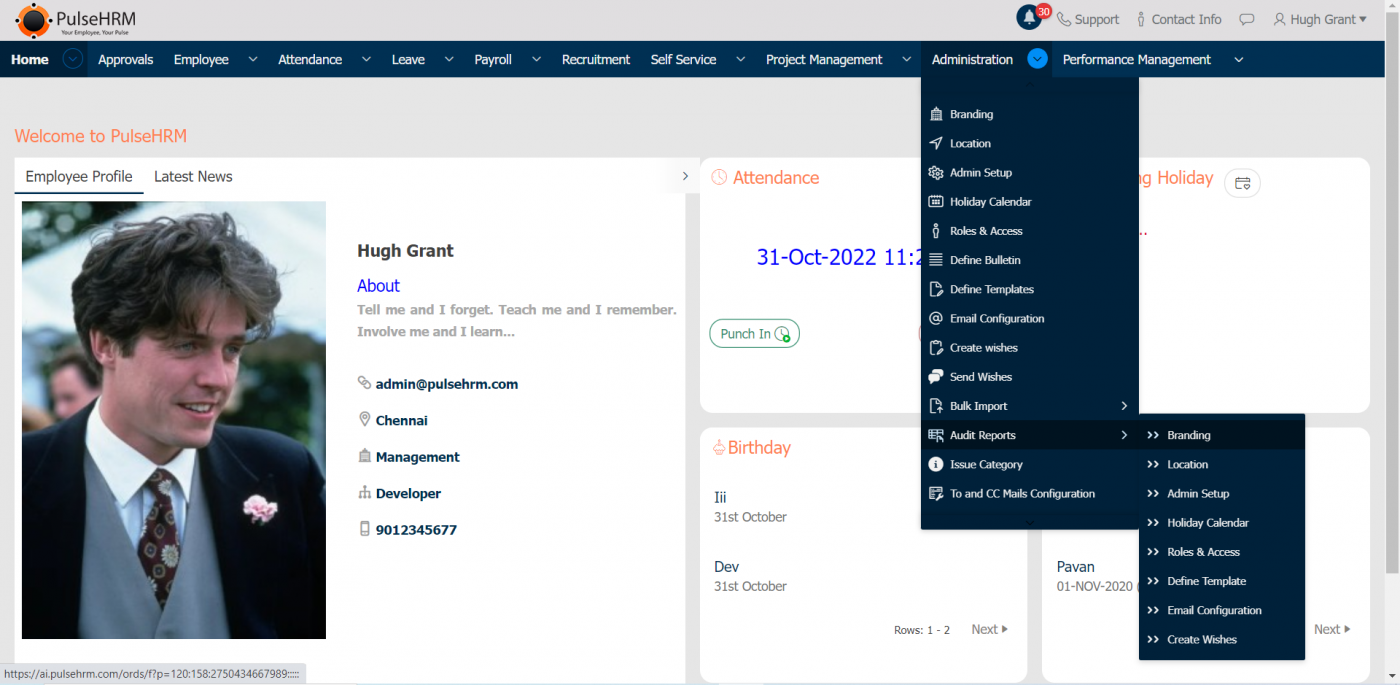
The Administration module is completely under the access of the administrator of the organization where all the details of the organization can be updated.
SUB – MODULES
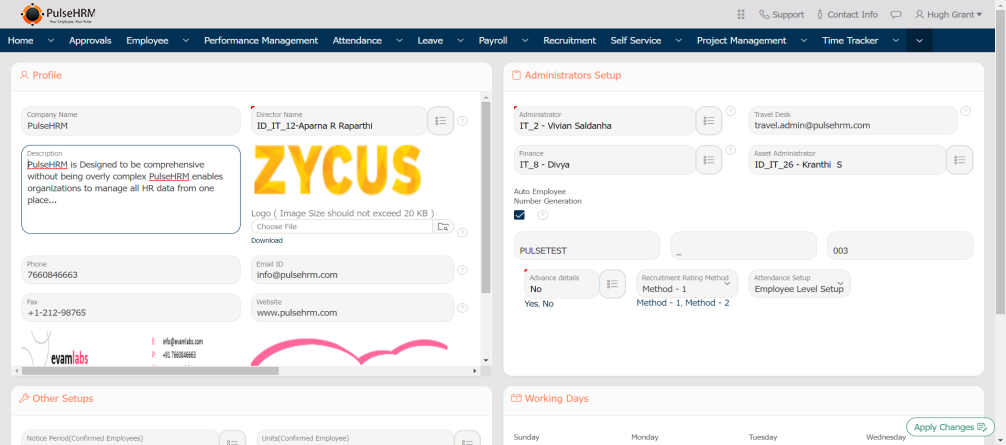
1) Branding
The branding page describes the complete details of the organization.
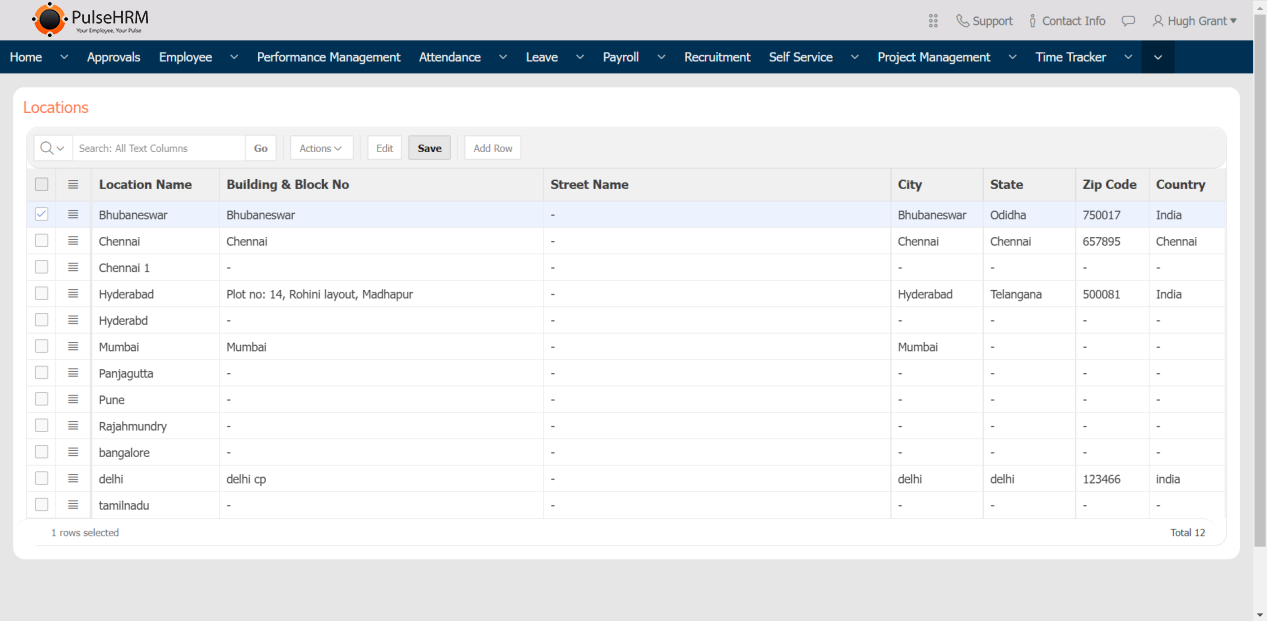
2) Location
All the address details of the different branches of the organization can be added and will be displayed in the location page, which will reflect in the employee details page under work location column.
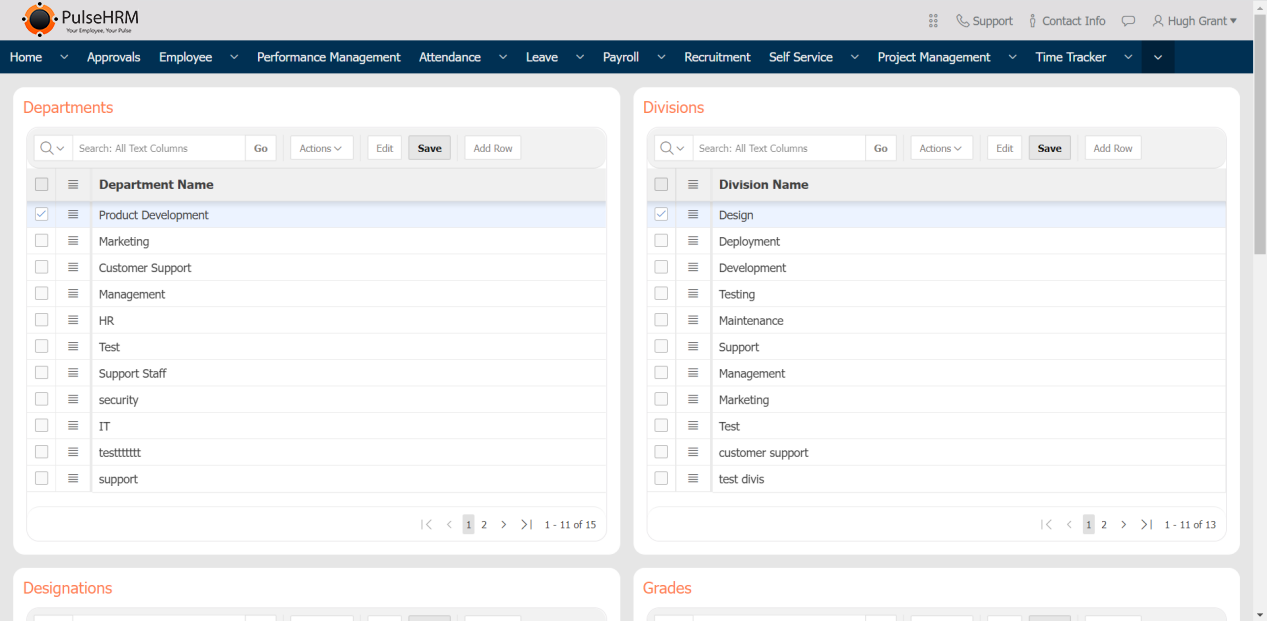
3) Admin Setup
It is used to add the department, designation, division and grade present in the organization which will reflect in the employee details page under their respective column.
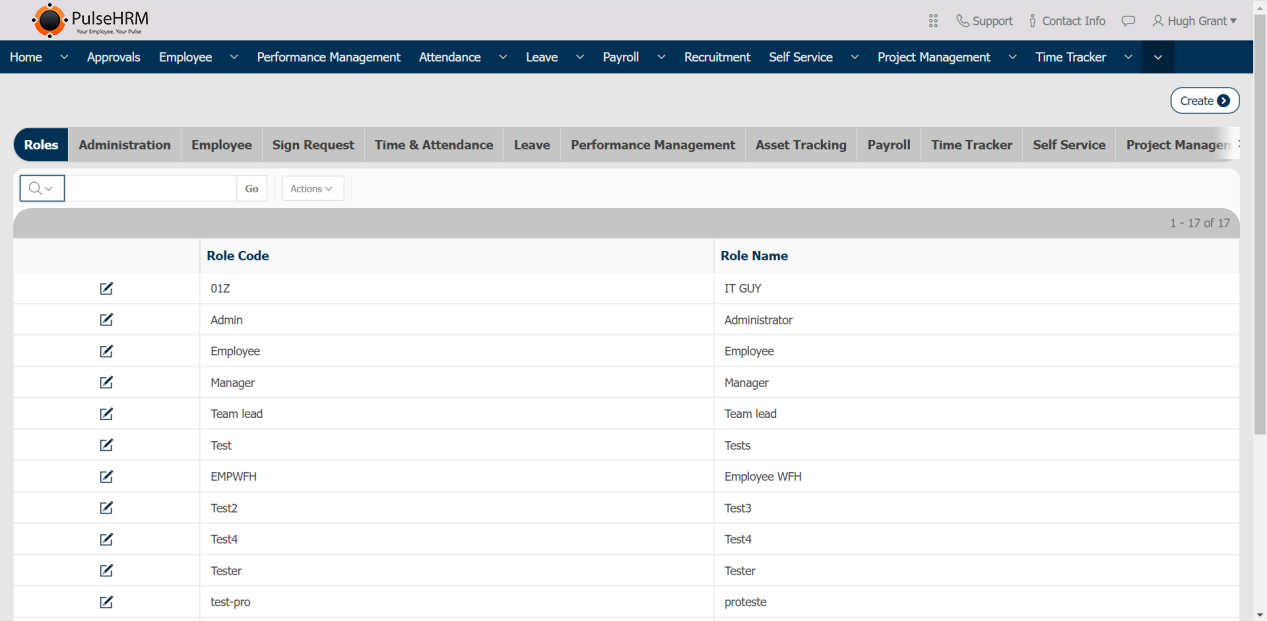
4) Roles & Access
The user roles of the organization can be added; by default Admin, Manager, Team lead and employee will be present. Based on the user role the access for each and every module can be provided.
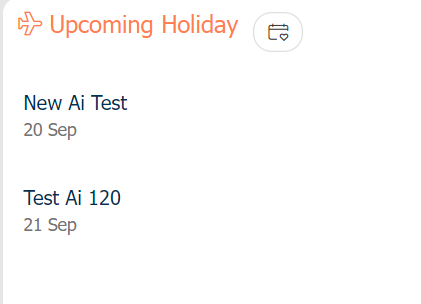
5) Holiday Calendar
The list of public holidays can be added or imported into the portal which will reflect in the home page under upcoming holiday in the employee login.
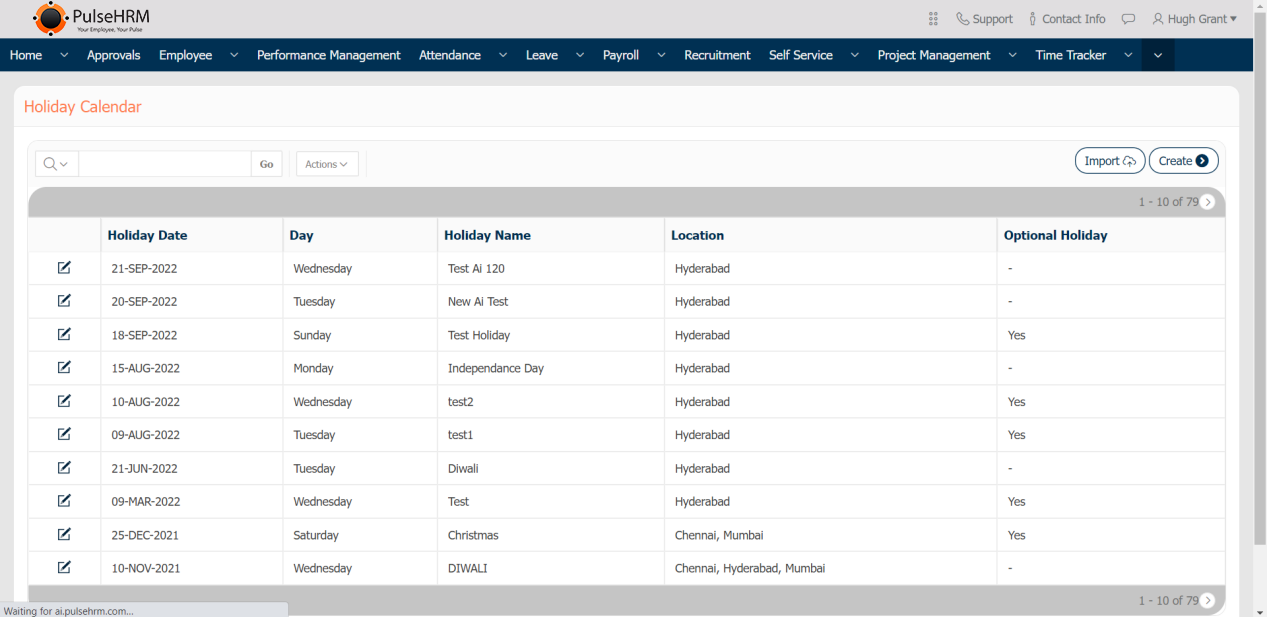
The Template to Import the data:
- The Holiday Date should be mentioned in DD-MMM-YY format.
- The Date, Name and location column cannot be left blank. Location can be separated by “:”.
- The Optional column can be either Null or Yes.

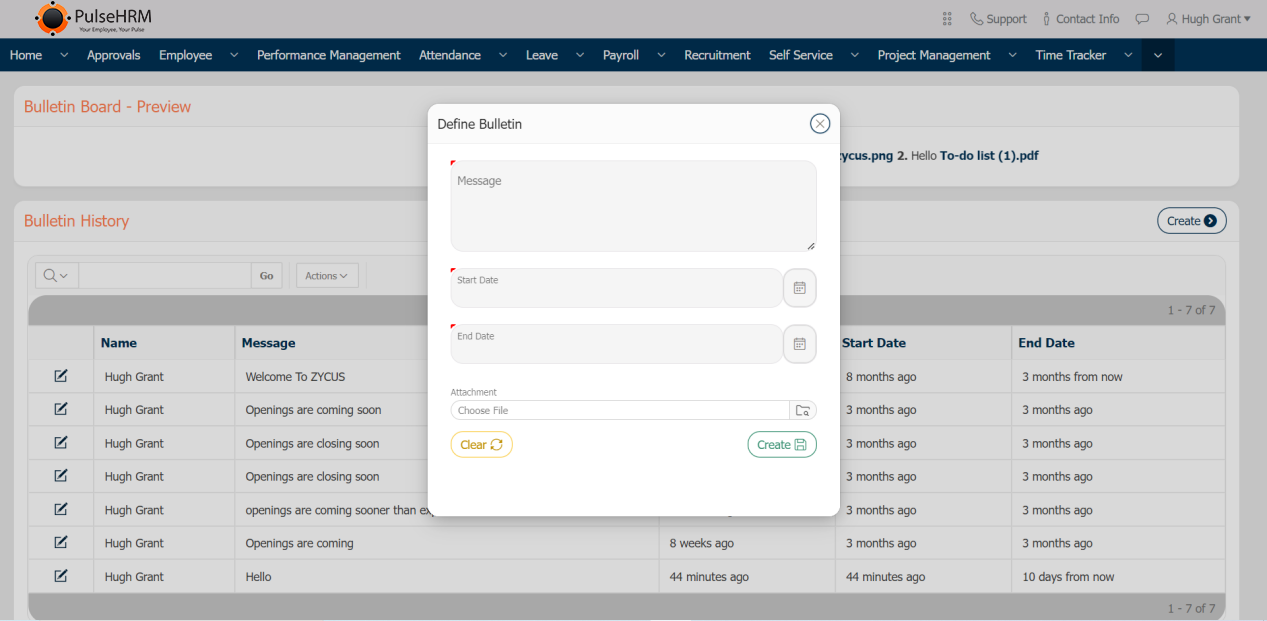
6) Define Bulletin
It is used to create the important and urgent messages and display the same to the employee in the home page under “Latest News”.
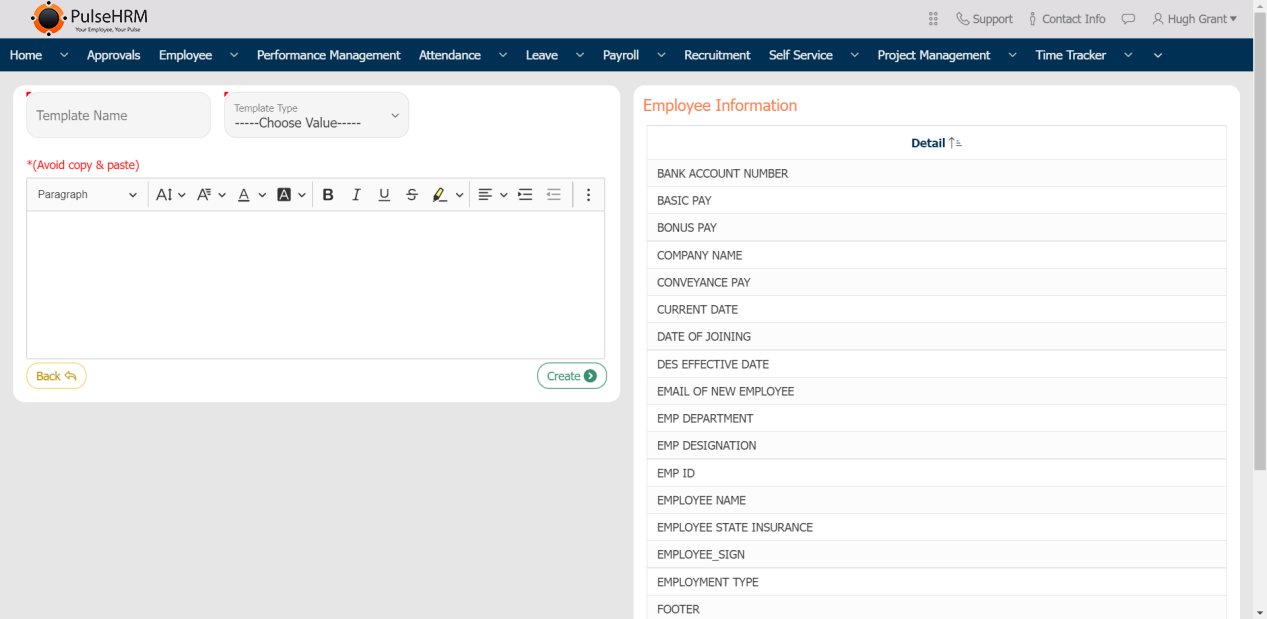
7) Define Template
It is used to create the letter that has be sent to the selected candidates, active employees and notice period employees during the on board, general and off board process respectively.
8) Email Configuration
The list of public holidays can be added or imported into the portal which will reflect in the home page under upcoming holiday in the employee login.

9) Create & Send Wishes
In home page. the list of birthday’s and work anniversary’s are displayed. When clicked on the name from the birthday list, the page will navigate to the send wishes page from where the admin created wishes can be viewed and sent.
The wishes should be created from the create wishes page. The admin has to add the wishes and save it. The wishes can be created, edited or deleted by the admin only.

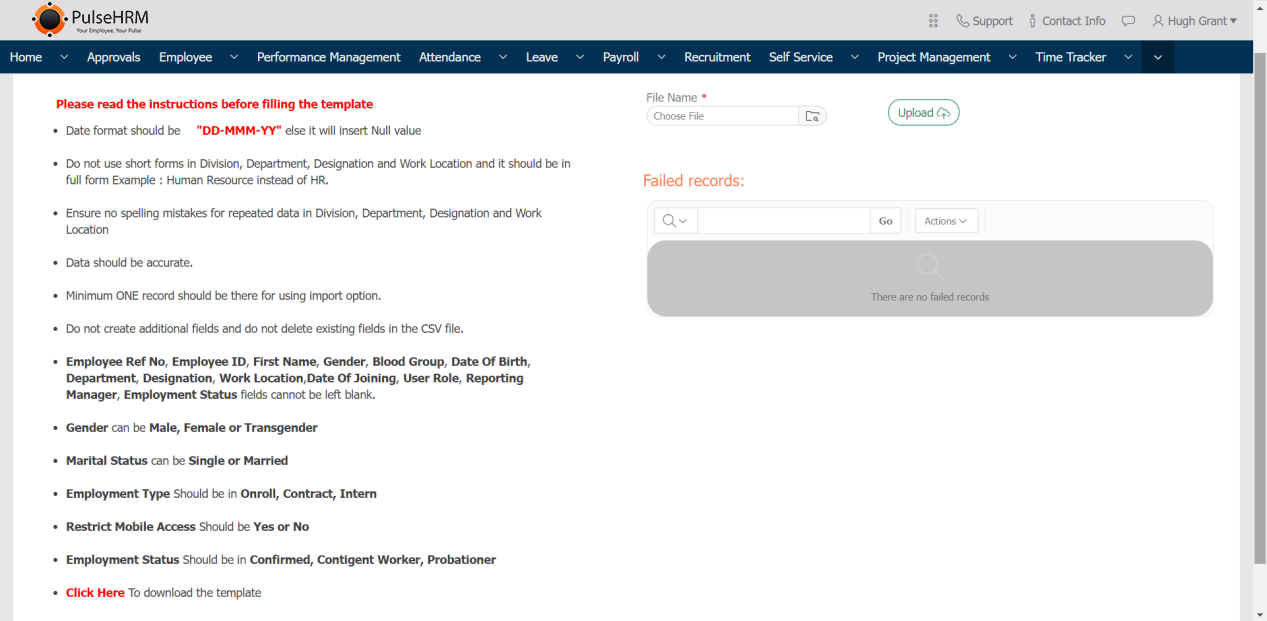
10) Bulk Import
It is used to import the employee basic details, account and contact details into the portal using a template.
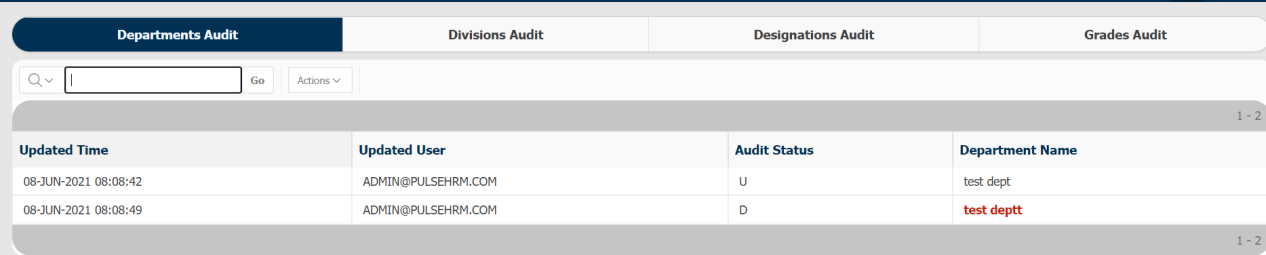
11) Audit Import
The changes done in any of the pages in the administration, the complete details as who has done the changes, what changes has been done and when was it done will be displayed for the admin reference.
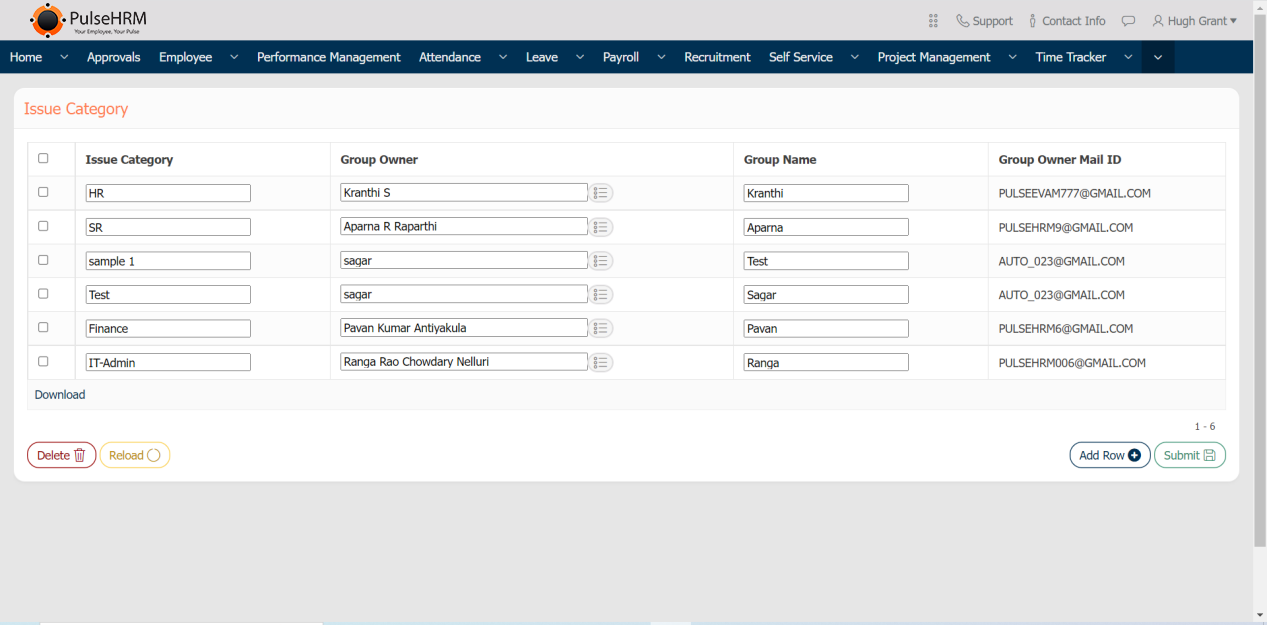
12) Issue Category
The admin should create the category of issues and their owner who will be notified, when the employee reports about an issue being faced.
The admin has the access to add, edit and delete the details.